A month after hiking to the base camp of the highest mountain in the world, I found myself close to the second highest mountain of the 7 summits. Aconcagua is also the highest mountain in all of the Americas. Standing at an elevation of 6,961 meters/ 22,838 feet, it is popular amongst mountain climbers who attempt to summit its peak. Confluencia is the name of the base camp of Aconcagua. Unlike the base camp of mount Everest, which is a 12 consecutive day out and back hike, Confluencia is a lot easier to get to and only takes a few hours. This post is a guide to the Confluencia hike and will provide all you need to know about getting to and hiking to the base camp of Aconcagua.
Table of contents
Location
The base camp of mount Aconcagua or in other words Confluencia is located a little under 3 hours from the city of Mendoza, in a place called Parque Provincial Aconcagua. This provincial park is located in the province of Mendoza in Argentina, but is only 15 kilometers away from the Chilean-Argentinian border.
When to Go
The hike to Confluencia is open from November 15th to April 30th. Even in April, you may find the base camp of Aconcagua empty as it would be the end of the climbing season.
How to Book
Booking the hike to Confluencia is not very straightforward but totally doable. First, you have to go to this website (or try this if that doesn’t work) and make a reservation (DAY TREKKING: HORCONES – CONFLUENCE- HORCONES. HORCONES BROWN). Then, you have to pay using a payment app like Pago Facil or Macardo Pago. These apps however, do not take non-Argentinian credit cards. You will have to find a physical Pago Facil in Argentina when you get there and pay in cash. Print the reservation when you go to pay. The reservation has a QR code that Pago Facil will use for payment. They will then attach the receipt to the reservation. Bring both as you will need both for check-in.
You cannot pay for the hike to Confluencia at check-in or the park. You must pay for it beforehand.
Although the site said they will be open from November 1st, it took them a few more days for reservations to be open. Keep checking if it’s not open on the day they said it would.
How to Visit
You can visit Parque Provincial Aconcagua from Mendoza as a day trip or you can visit it if you are crossing the border over to Chile from Argentina or vice versa. .

How to Get There
Self-drive
Driving is the best way to the get there. It gives you a lot of flexibility and it’s also somewhat cost effective compared to a guided tour. The only callout is that the road from Mendoza to the park is winding and very windy. You have to be careful while driving.
Driving also lets you make stops along the way. The views are stunning and you may want to stop to take them in on your way in or out.


Guided Tour
There are a few guided tours that will take you to the park and then guide you through the hike to Confluencia. See below for one such option.
Public Transport
There is a public bus that goes from Mendoza city center to Puente del Inca. Buses run 3 times a day (from Mendoza - 6 AM, 10:15 AM and 3:30 PM) and takes 4 hours!! Unless you take the early morning 6 AM bus, you may not have enough time for the hike to Confluencia. You can check out the schedule HERE. Another note is that the bus drop off (Puente del Inca) is 2 kilometers from the park entrance and it is a busy road between the drop off and park entrance.
To be honest, I really don’t recommend you taking the bus for 2 reasons 1. it takes too long and 2. you will have to do a lot of walking.
Overview of the Hike
- Distance – 14.5 kilometers or 9 miles out and back
- Timing – 4 to 6 hours (depends on you)
- Difficulty – Moderate
- Starting Elevation – 2,800 meters
- Ending Elevation - 3,400 meters
- Elevation Gain – 600 meters
- Entry Time – 8 AM to 11 AM
- Open Times – Summer only (see When to Go section)
The Hike
The Start
When you arrive at Parque Provincial Aconcagua, you will first need to check-in. If you drove, park your vehicle and go inside. Here, you will show your receipt and reservation and they will give you a ticket. Hold on to this ticket as you need to show it to the camp rangers at Confluencia. They will also give you a bag to bring back all your trash.


Once back in the car, drive into the park for about 1 kilometer. Here, you will see another car park. This is where you will park your car and start the trek.


The hike to Confluencia starts relatively easy. Your first stop is a board with a view point of Aconcagua where you can stop and take pictures.


Follow the Valley
After the viewpoint, walk along the wide valley. There are several small trails that you can take. Don’t worry about taking one particular trail. All roads do lead to Rome (or the base camp of Aconcagua in this case), and you won’t get lost! I tried to take the trail that looked like the straightest path (because, grade 4 science haha!).


Cross the Bridge
Once you come to the suspension bridge and cross it, that is when the trail starts climbing. It will be a gradual uphill climb from here onwards. The trail is rocky at times and dusty. You will walk along a river for a bit before you climb even further.


Keep Going!
Through out the entire hike, you will see a few trails that you can take. Again, it doesn’t matter which one you take as they all bring you to the same place. Once you see the board that says you are 30 minutes away, you will have to climb a bit more from here (it still is gradual) but, it won’t last for long.


Another Valley
You will encounter another wide alley, surrounded by a mountain range to your right, just before Confluencia. This section is very flat! Which is great! The hard work is now behind you.

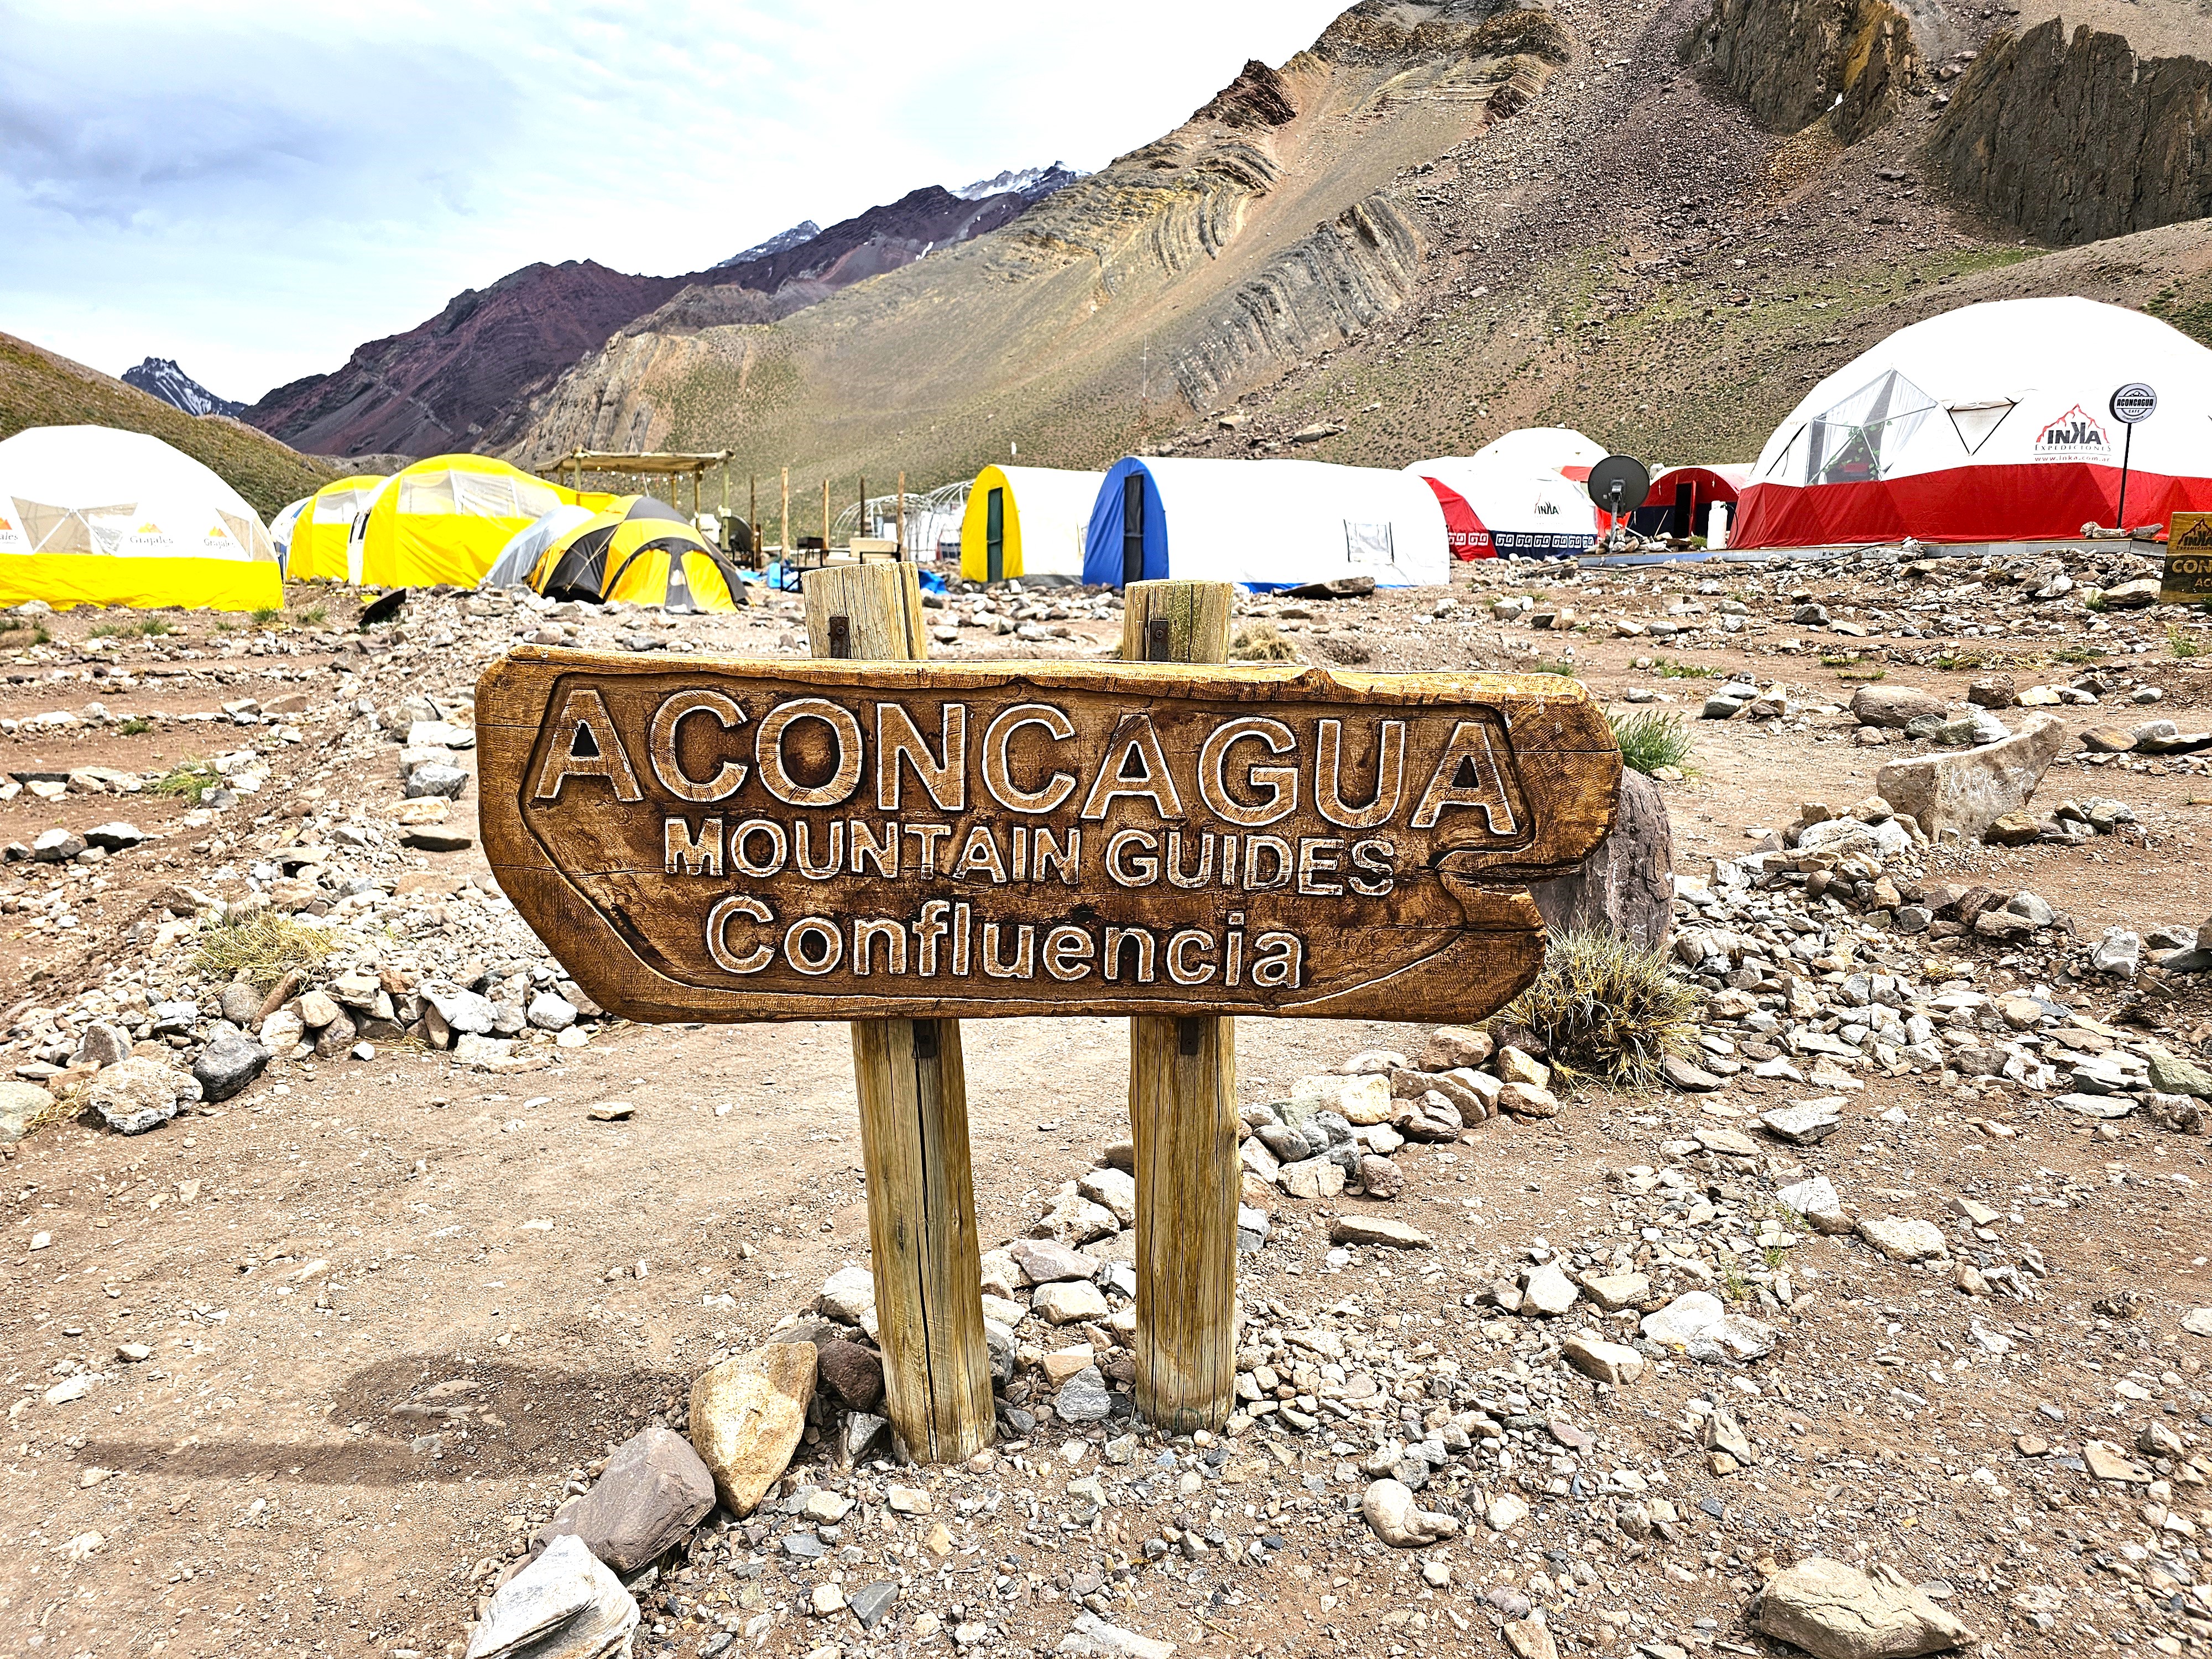
Confluencia
After the flat section, you will arrive at Confluencia. You will need to go to the camp ranger and register yourself. I thought it was so cool that they add your name to the book of visitors to the base camp. Once at camp, you can walk around and take pictures.


There is also a little hill behind camp that you can climb up for a more aerial view of the camp and the mountains around you.


Way Back
You can follow the same trail on the way back. Once at the parking lot, you will need to make your way to where you checked-in. You need to check-out at the same place that you checked-in at the start. Don’t forget to give them back the trash bag, even if you didn’t use it!


Overall, I really enjoyed the hike! Having just done Everest Base Camp, my lungs and legs were fully prepared to hike to Confluencia (honestly, it was a breeze!!).
Other Options
If you don’t want to do a long hike or one that deals with altitude, check out this other shorter hike at Parque Provincial Aconcagua that brings you to a good viewpoint of mount Aconcagua. Furthermore, this hike can be done the entire year.
You can reserve it HERE. Select the LAGUNA DE LOS HORCONES option.
What to Pack
- Hiking shoes – The path is rocky. Good, sturdy hiking shoes is a must. I love mine from Salomon
- Layers – It was very windy when I visited! Pack a windbreaker with a diver’s style hood
- Water – You will need to bring enough water for the hike. A bladder like this is great as you can easily drink on the go
- Snacks
- Sun Protection – A sunhat that you can tightly secure around your face
- Sunglasses - Love these polarized sunglasses
- Trekking poles – Optional but useful
Guided Hike vs. Self Guided
You may be wondering if you really need to hire a guide for this trek. My answer is it depends! If you are used to hiking and have especially done high altitude hikes, then I would say no. The incline is very gradual and there are no major dangerous parts. If you are not used to hiking, especially in high altitude, then you may want to consider a guided hike.
In addition to the one shared above, here is another highly rated guided hike that you can check out!
Things to See Along the Way
If you have your own vehicle, you can easily make the following spots on the way back.
Puente del Inca
Puente del Inca or Inca Bridge is a natural arch that forms a bridge over the Las Cuevas River.

Uspallata
This entire area is very scenic with snow capped mountains and rock formation of hues of red and orange. Fully worth stopping at designated spots to take the views in.

Cachueta Thermal Park
Give yourself with a post hike reward by stopping at Cachueta Water Park for a much needed thermal bath and soak. See HERE for more details.

Tips
- Get here early. I was the only one on the trail and was the only one on camp for a long time. Going back, I saw tons of people hiking towards Confluencia.
- The only bathrooms you will find is at the village just before the park or at Aconcagua Base Camp itself.
- Bring food and plenty of water. There is a small shop where you can buy snacks but it is expensive there.
In Mendoza
If you are looking for a post hike dinner spot in Mendoza, the ultimate post hike reward you can give yourself is to dine at Casa Vigil. I cover more HERE.


If you are staying a few days in Mendoza, check out some of the best wineries to visit HERE
Did you find this post useful? Please let me know by liking/commenting below or sharing this post on social media! Thank you!!
Pin this post for later!

Note – This post contains affiliate links. When you make a purchase using one of these affiliate links, I get paid a small commission at no extra cost to you.


7 comments
Hello! Just wondering which hiking company you’d recommend for Aconcagua base camp. Thanks!
hello! I did it on my own but this Viator trek has very good reviews if you want to check it out – https://www.viator.com/tours/Mendoza/Aconcagua-nearest-base-camp-Confluencia/d931-85541P8?pid=P00169395&mcid=42383&medium=link
Hello, I´m trying to buy the permit for one day trek to Confluence through the official website and choosing the (DAY TREKKING: HORCONES – CONFLUENCE- HORCONES. HORCONES BROWN) option you mentioned above. However it is not there. The only one available is CIRCUITO TURÍSTICO INTERPRETATIVO “LAGUNA DE LOS HORCONES”. QUEBRADA DE HORCONES. And I only can choose the date for the current month, what if I want December, the following month? Is there something wrong on the website or is it me? Thanks for your help! Silvia
Hello! This is super helpful! Did you drive from Mendoza and back in one day or did you stay nearer the park the night before?
Glad to hear it’s useful! I drove from Mendoza and back.
Hi and happy new year! Curious what time you first left Mendoza to do the trek and thermal spa on the same date?
I left early morning at 6 am. I will add that I’m a fast hiker. If you are worried that timing, buy tickets at the thermal spa instead of in advance. The spa is a small detour on the way back to Mendoza from Aconcagua.